Contactless Payment for Restaurants: Key Takeaways
- Setting up contactless payment involves upgrading or updating your POS system, choosing a payment provider and making sure your staff is prepared for a smooth hand-off.
- Contactless-enabled terminals run from $100–$500 a piece, with extra fees of $10–$100/month for software and support. Watch for hidden “integration” or “setup” charges lurking in contracts.
- Payment processor fees usually range from 1.5% to 3% plus $0.10–$0.30 per transaction. If someone claims “no fees,” press them about minimums or long-term commitments first.
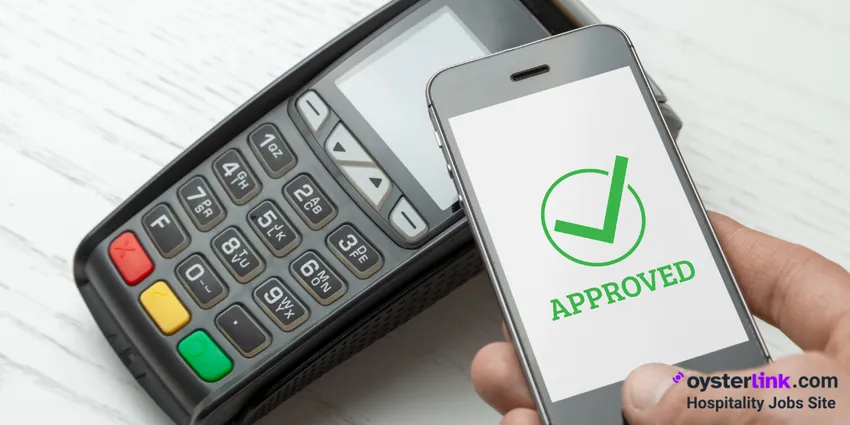
Long checkout lines and slow payments can frustrate both your guests and your staff, really impacting the overall atmosphere of your restaurant.
Introducing contactless payment solutions not only speeds up transactions but also aligns with today’s demands for convenience and safety — something especially valued by younger guests and busy professionals.
The best part? Getting everything set up doesn’t mean you need to be a tech expert. This article walks you through each step while providing a straightforward breakdown of costs.
Step-By-Step Guide To Setting Up Contactless Payment
Following these steps will help you implement contactless payments smoothly, securely and efficiently across your restaurant operations.
1. Assess your current POS system
Kick things off by checking your current POS hardware and software. Look for NFC (Near-Field Communication) support, which you’ll need for most contactless cards and modern phone wallets. Some older terminals only need a software tweak, but others may need full replacement.
Don’t be shy about booking a walkthrough with your POS vendor. Ask them to clearly list any hardware or software add-ons required (along with costs) before you commit. It’s always easier to say “yes” with firm numbers on paper.
2. Choose a contactless payment provider
Explore processors that cover contactless tap-to-pay transactions. Top picks in hospitality circles include Square, Toast, Clover and Lightspeed. Weigh their transaction fees, hardware costs, how they sync with your POS and how fast their support team picks up the phone.
Choose a provider that seamlessly integrates with your current setup and fits within your budget. It's important to ask about contract length and all potential costs, such as fees for upgrades or downgrades and any monthly minimums. Also, find out what the process would be if you decide to switch providers later.
Ideally, look for flexible, month-to-month options and support lines staffed by real people, not just automated systems.
3. Set up and integrate payment terminals
Order contactless-ready terminals from your chosen provider or trusted POS vendor — try to avoid those third-party sellers on auction sites to ensure warranty and support actually apply. Most providers send setup videos or run remote onboarding.
Before going live, make sure your setup supports things like split bills, tipping and syncing with common restaurant accounting software.
4. Configure payment settings and security
From the POS admin, enable contactless options and select the cards or wallets you’ll take. Double-check built-in security: end-to-end encryption, tokenization and who gets to adjust tips or refunds.
Have your provider confirm in writing that your setup is PCI compliant. Save the documentation somewhere handy — in case you ever have to respond to a chargeback or routine audit.
5. Test the contactless payment system
Prior to launch, test payments with several cards and wallets (ask a mix of staff to try — someone always has a different phone or card). Make sure tips, refunds and receipts are processed correctly. One small bug discovered now can save you a headache later.
Note any problems in your POS Issues notebook and knock them out right away — better now than when you’ve got a line out the door.
6. Train your staff
Give every Chef, Server, Bartender or Cashier simple, clear training on using the new terminal. Visuals and checklists beat wordy manuals every time. (Seriously, print troubleshooting flowcharts for the dish pit or host stand.)
Practice some scenarios together, like when a guest hesitates with Apple Pay or a tap is declined. Encourage questions and remind everyone: “When in doubt, call support — don’t just guess.” When staff feel prepared, guests notice.

The Fastest Growing
Restaurant & Hospitality Job Platform
Looking for top paid jobs? Or Hiring for your business?
Costs Involved in Setting Up Contactless Payment
Making the switch to contactless payments isn’t cheap, and there are several costs involved. From hardware and software to payment processor fees and ongoing support, these expenses can add up quickly.
Understanding what to expect ahead of time can help you plan your budget wisely and avoid any surprises. Here’s a quick overview of the main cost categories to keep in mind:
Hardware and software costs
Expect to pay (or sometimes lease) $100–$500 per contactless-ready terminal, depending on features. Some POS brands may charge a one-time software fee or a recurring monthly fee for enabling tap-to-pay. Get a written list of all charges before signing anything.
If you end up changing POS providers, factor in migration costs — everything from data transfer to retraining (usually a few hundred bucks if your vendor handles it).
Payment processor fees
Processors charge by transaction: typically 1.5%–3% per sale, plus maybe $0.10–$0.30 each time. Sometimes they tack on a monthly service charge, often based on your volume or total terminals.
Maintenance and support costs
Budget for regular needs: software updates, extending warranties or support. Monthly, this usually runs somewhere between $10 and $100, depending on your provider and preferred support level.
Many providers offer support only via chat or email — if you need fast phone help on, say, a Friday night service, make sure you know what’s included. Investing in decent support could be what stops a busy Saturday from turning into a disaster the first time a terminal acts up.
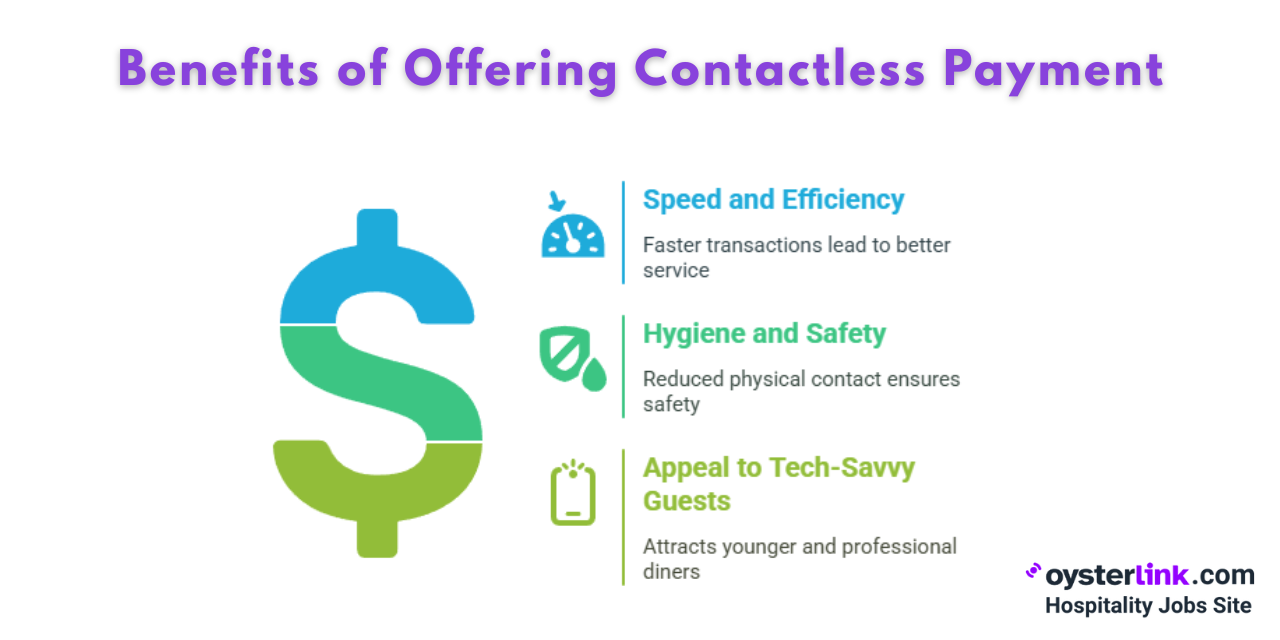
Benefits of Offering Contactless Payment at Your Restaurant
Integrating contactless payments into your operations offers numerous advantages that can enhance customer experience and streamline service. Here are some key benefits:
- Speed and efficiency: Guests can tap and go, reducing PIN entry and wallet digging. This allows Servers to handle more tables and serve more customers during busy times.
- Hygiene and safety: Passing cards or bills by hand is minimized, decreasing physical contact and reassuring guests and staff — especially during flu season.
- Appeal to tech-savvy and business guests: High-tech payment options like Apple Pay, Google Pay and contactless cards attract younger and professional diners, increasing opportunities for group and quick service businesses.
Adopting contactless options can also position your restaurant as innovative and guest-focused, giving you a competitive edge in a crowded market.
See also: Should Your Restaurant Go Cashless? Pros and Cons of Digital Payments
Best Practices for a Smooth Contactless Payment Experience
By following these best practices, you can encourage more guests to embrace contactless payments:
1. Display clear signage and educate customers
Put up clear “Tap to Pay Accepted” signs at every register, the front door and on guest checks (Vendors often supply these for free — just ask!). Table tents work great too, especially at cafes or bars.
Encourage staff to mention the new payment option in a friendly manner, especially if a guest hesitates. A simple phrase like “You’re welcome to tap your card or phone here!” can ease confusion and make the process more inviting.
2. Train staff regularly and thoroughly
Plan for brief, regular training sessions, especially whenever you update procedures or onboard new team members. Use visual cheat sheets or short “what if?” guides near the POS to build confidence among your staff.
Post support contacts and troubleshooting checklists right at the POS station — you’ll appreciate having these tools handy when a line forms and someone needs a quick fix.
3. Test the system regularly and gather feedback
Conduct periodic test runs to ensure everything works smoothly, especially during busy hours or before major shifts. Ask staff and guests for feedback on the process and make adjustments as needed to improve clarity and speed.
4. Keep your technology updated
Regularly update your POS system and contactless payment hardware or software to benefit from the latest security features and improvements. Stay informed about new contactless payment options and incorporate them into your system when you're ready to expand your capabilities.
5. Make the process convenient
Make sure to enable features like split bills and tips, so guests can pay exactly how they want. Additionally, ensure your hardware has reliable Wi-Fi connectivity and sufficient battery life.
This is especially important for tableside or curbside transactions, as it helps keep payments smooth and uninterrupted.
6. Be prepared for troubleshooting
Have a plan in case something goes wrong — whether it’s a tech issue or a guest needs help. Train staff to handle common problems quickly and confidently, and keep a support contact list handy.
About OysterLink
OysterLink is a dedicated platform that connects hospitality professionals with employers, making it simple to find great hospitality jobs or hire the right talent quickly and easily.
We provide job seekers with helpful salary insights, career advice and the best job listings, while giving employers tools to create engaging job ads and access to important business resources.
The Fastest Growing
Restaurant & Hospitality Job Platform
Looking for top paid jobs? Or Hiring for your business?

Written by Sasha Vidakovic
Sasha is an experienced writer and editor with over eight years in the industry. Holding a master’s degree in English and Russian, she brings both linguistic expertise and creativity to her role at OysterLink. When she's not working, she enjoys exploring new destinations, with travel being a key part of both her personal and professional growth.

Reviewed by Marcy Miniano
Marcy is an editor and writer with a background in public relations and brand marketing. Throughout her nearly decade-long career, she has honed her skills in crafting content and helping build brands across various industries — including restaurant and hospitality, travel, tech, fashion and entertainment.


Loading comments...